
CRAFTS / BEGINNER SEWING / BY STACEY SAVARESE
This post may contain affiliate links, including Amazon links. If you buy through my links, I may earn a commission at no extra cost to you. As an Amazon Associate, I earn from qualifying purchases.
THE SMALL-BUT-MIGHTY SEWING KIT
Buy Only What You Really Need
Seven useful decisions for building a beginner sewing kit that helps instead of becoming one more crowded drawer.
The best sewing tools for beginners aren’t in the biggest box. They are the few tools that make a first real job easier. Still, a sewing aisle can make a beginner feel both excited and wondering if they are under-equipped before she has even threaded the machine.
It is very exciting, but a bit overwhelming at the same time!
These tools are everything from wheels, rulers, mats, clips, chalks, tiny brushes, mysterious curved cushions, and enough specialty feet to suggest that a simple hem requires laboratory clearance.
It does not.
When my grandmother sat me at her old iron sewing machine, the kind that folded down into its own table, the magic was not in owning every tool.
It was in realizing that fabric could become something useful under my own hands.
Coming back to sewing now, I want that feeling again. I do not want to buy a box full of things I cannot identify.
So this list below is organized around jobs, not collecting.
A good beginner kit should let you measure, mark, cut, hold, stitch, correct, and press. If a tool does not help with one of those seven jobs yet, it can wait until a project gives it a reason to come home.
The Beginner Sewing Shopping List
Before you shop: Open the accessory box that came with your machine. You may already own a seam ripper, needles, bobbins, a small screwdriver, and several presser feet. Buy only after that little inventory.
| # | Item | When to buy | Shop |
|---|---|---|---|
| 1 | 8-inch fabric shears | Need now | Amazon |
| 2 | 6-inch seam gauge | Need now for hems | Amazon |
| 3 | Fabric marking tool | Need now | Amazon |
| 4 | Glass-head pins | Need now | Amazon |
| 5 | Universal machine needles | Buy for your fabric | Amazon |
| 6 | Quality all-purpose thread | Buy by project | Amazon |
| 7 | Comfortable seam ripper | Check your machine box first | Amazon |
| 8 | Pressing cloth | Use with the iron you own | Amazon |
Sewing tools for beginners: the seven jobs that matter
Think of this as a working wardrobe for sewing tools. Each piece has a job, and almost everything can be used for hemming, repairs, and simple home projects.
If you are still choosing the machine itself, start with my guide to the best sewing machines for beginners, then come back here before adding accessories to the cart.
1. Cut cleanly: buy fabric shears first
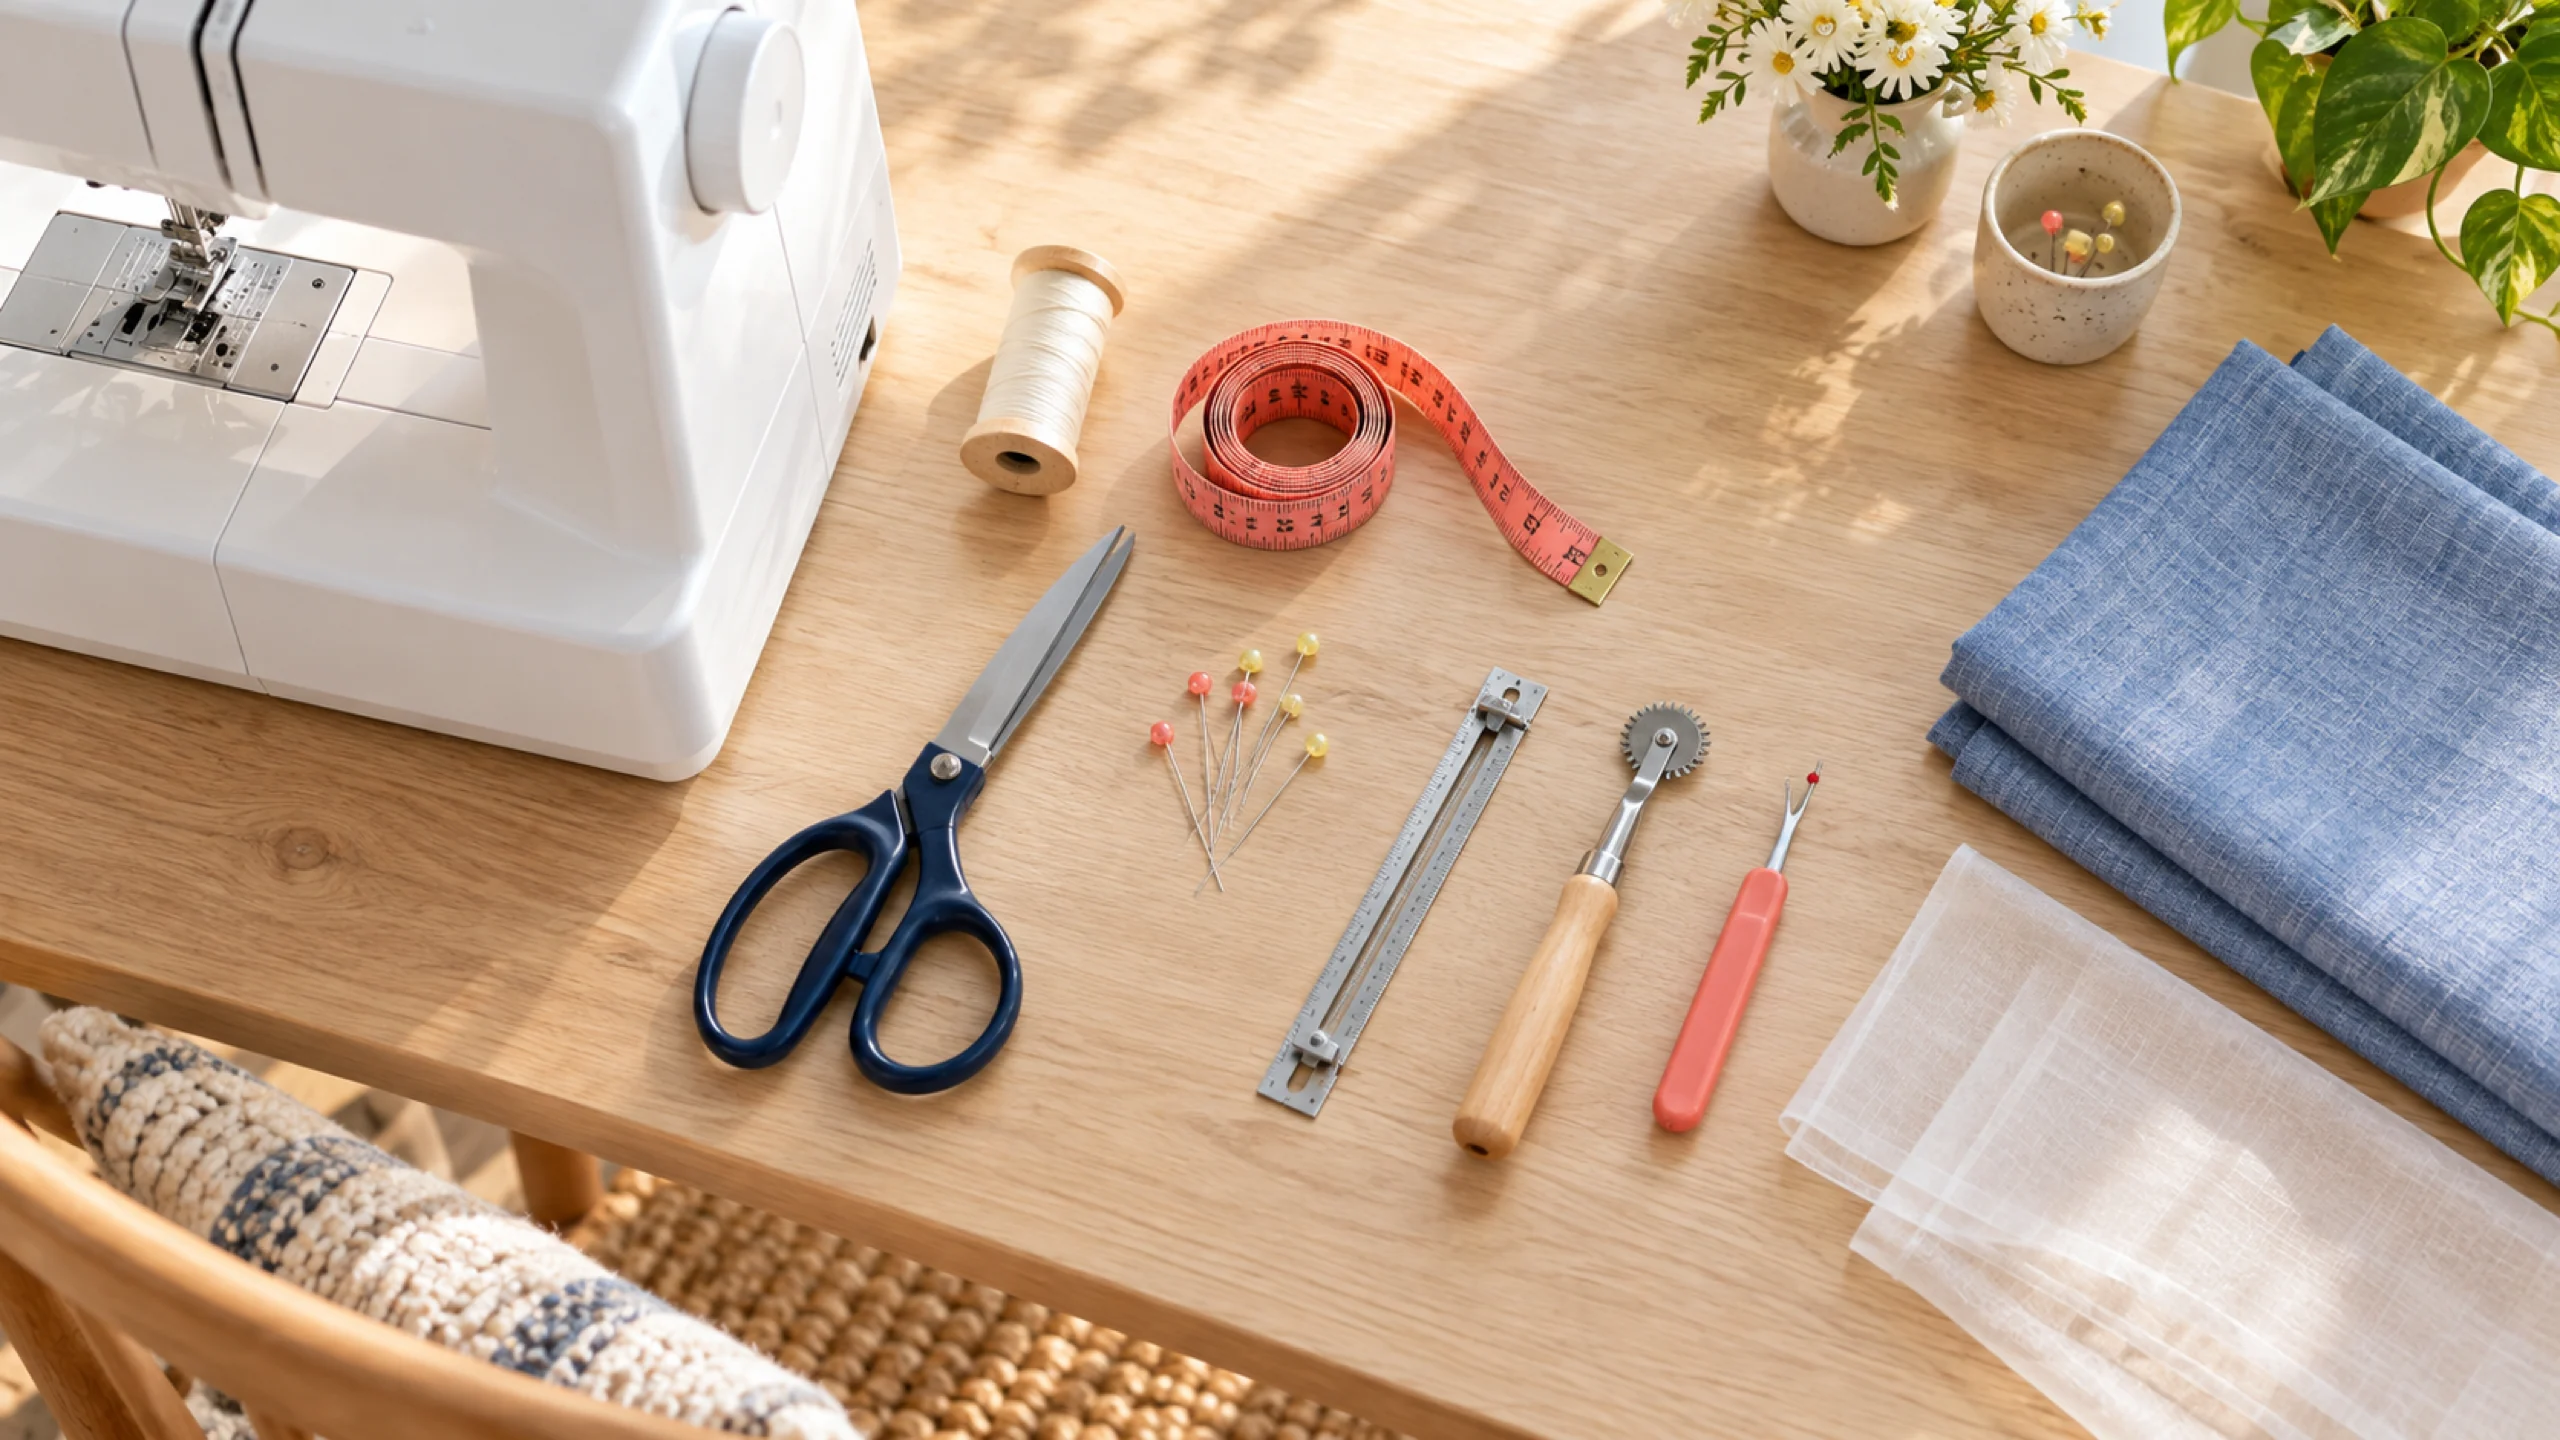
A dedicated pair of fabric shears is the one purchase I would not try to improvise. Kitchen scissors can lift, chew, and shift cloth while you cut. An 8-inch pair is large enough for garment pieces but still manageable if your hands are small. Keep a separate ordinary pair for paper patterns, tape, and packaging. Paper dulls the edge you need for fabric.
Charmed Tip: Tie a coral ribbon around the handle. It is a cheerful little warning that these scissors do not open delivery boxes.
2. Measure repeatably: add a seam gauge
A flexible tape measure handles bodies, curves, and long spans. For the work I expect to do most, the modest metal seam gauge may be even more useful. Slide its marker to the depth you want, then repeat that measurement around a trouser leg, curtain, or folded edge.
It removes the tiny variations that happen when you keep finding the same number on a ruler.
If you are short, changing shape, or simply tired of paying alteration prices for a basic turn-up, a seam gauge earns its keep quickly. My beginner’s guide to sewing a blind hem shows where that consistent measurement matters and why the fold does more work than the stitch icon.
3. Mark without regret: choose one removable method
You need a way to transfer a hemline, dart, pocket position, or pattern notch to fabric.

You do not need six ways.
Chalk is visible and does not dry out. Water-soluble pens can make a fine, clear line. Air-erasable pens disappear on their own, sometimes before you are ready. Pick one, test it on a scrap, and follow its removal directions before pressing over the mark.
What goes wrong: A mark that looked removable can set under heat or linger on pale fabric. Test the exact tool on a scrap and remove the mark before it meets the iron.
4. Hold the layers: begin with pins
Fine glass-head pins are a versatile first choice for woven fabric, garment pieces, and hems. The visible heads are easier to spot than plain metal pins, and glass heads tolerate careful pressing better than plastic ones. Clips are wonderful for thick layers, vinyl, leather-like materials, or edges you do not want to pierce, but most beginners do not need both on day one.
Place pins so you can remove them before they reach the presser foot. Sewing over pins can bend or break the machine needle and send small metal pieces where no one wants them.
5. Match the fabric: buy needles and thread by project
This is where a giant beginner assortment is most likely to create the illusion of readiness. A small pack of universal machine needles is useful for many everyday woven fabrics and some knits, but stretch fabric, denim, and delicate cloth may need a different point or size. SCHMETZ describes its Universal needle as an all-purpose option with a slightly rounded point for woven and knit fabrics. Your machine manual and fabric are the deciding voices.
Thread should be bought with the project, not as a rainbow insurance policy. A quality all-purpose polyester thread in a color close to the fabric will cover many repairs and first projects. For a blind hem, matching thread helps the tiny catches recede. Keep one extra machine needle nearby because a bent or damaged needle is not a moral failing. It is a replaceable part.
6. Undo kindly: keep a seam ripper within reach

The seam ripper is not a punishment for getting something wrong. It is the editing tool of sewing. A comfortable handle matters more than a beautiful storage case, especially if hand strength or close work becomes tiring. Use the pointed tip to lift a few stitches at a time, then remove the loose threads before sewing again.
Charmed Tip: Check the machine’s accessory pouch before buying one. If the included ripper has a tiny handle that makes your fingers cramp, that is when an ergonomic replacement becomes a useful upgrade.

7. Press as you go: use the iron you already own
Pressing is part of sewing, not the ceremonial step at the end. It sets a fold, opens a seam, flattens bulk, and makes the next line easier to sew accurately. You probably do not need a new iron. You need a clean soleplate, the right heat for the fabric, a stable pressing surface, and a simple pressing cloth for anything that might scorch, shine, or react badly to direct heat.
This is also where thrift can become practical. A clean piece of lightweight cotton can serve as a basic press cloth. Specialty tools such as a tailor’s ham or sleeve roll are helpful when curved garment sewing becomes part of your actual life, not just your imagined future craft room.
KEEP READING
Ready to put the kit to work?
Choose your machine with the beginner sewing-machine comparison, then use your gauge, marking tool, pins, matching thread, and iron with the step-by-step blind hem guide.
What can wait until a project asks for it
- Rotary cutter, large self-healing mat, and quilting ruler: wonderful for repeated straight cuts and quilting, but fabric shears can take you through repairs, hems, simple bags, and early garments.
- Pinking shears: useful for some seam finishes and crafts, but your machine’s zigzag stitch can finish many beginner seams.
- Large clip collection: buy clips when thick layers, vinyl, or fabric that shows pinholes becomes part of a real project.
- Tailor’s ham, sleeve roll, and clapper: excellent garment-pressing tools once collars, darts, sleeves, and wool tailoring arrive on your table.
- Specialty presser feet: first learn what came with the machine. Add a foot for an actual technique, and confirm compatibility with the exact model.
- Thread stand, bobbin winder, tracing wheel, bias-tape maker, and elaborate storage: each may be useful later. None is admission to the craft.
- A serger: fast and polished for seam finishing, but not required to learn to sew. A regular machine can handle early construction and edge finishes.
A first-project test before every purchase
Before adding a sewing tool to your cart, name the project that needs it. Not “someday quilting.” Name the pillow cover, the navy trousers, the dining-room curtains, or the tote bag for keeping the rest of the kit together. Then ask what problem the tool solves and whether something you own already solves it well enough.
That small pause makes room for better choices. It also leaves more of the budget for fabric you are excited to touch and thread that will not fight the machine. The point is not to build a perfect sewing room before you begin. It is to place a few trustworthy tools beside the machine and make the first useful thing.
With the basics beside your machine, the next step is learning how to use them together. The sewing for beginners guide walks through getting started, choosing fabric, and finding lessons when you would like a little help.
Once the essentials are ready, these Christmas gifts to sew give each tool a practical job, from cloth napkins and bowl cozies to zipper pouches and a classic stocking.
Technique notes: For needle selection, see SCHMETZ Universal Needles. For a concise extension-service checklist separating basic and advanced tools, see Utah State University Extension’s Basic Sewing Supplies. Always follow your machine manual and the care instructions for your fabric and marking tools.
Leave a Reply