
CRAFTS / BEGINNER SEWING / BY STACEY SAVARESE
This post may contain affiliate links, including Amazon links. If you buy through my links, I may earn a commission at no extra cost to you. As an Amazon Associate I earn from qualifying purchases.
SEWING FOR BEGINNERS
Begin with one useful thing
Affiliate links may be included · Updated September 23, 2026
When I started looking at sewing again, I kept finding enormous supply lists and machines with more stitches than I could imagine using. It made a simple idea feel like a course I had forgotten to enroll in.
I remind myself…I am not trying to master an entire craft before I thread the needle. I need one useful reason to sit down and enough control to sew a decent line.
My first glimpse of that feeling came beside my grandmother at one of those old iron sewing machines that folded beneath its table. It was not sleek or computerized.
It did open a door.
Fabric could become something, and later, as a mother, something could be repaired before it was declared trash. As a short “petite” woman, I also discovered the deeply practical glamour of hemming those pants that meet my actual ankles.
Then life got loud, the machine broke during a move, and the years filled themselves. Now my youngest has graduated, has his own car, and no longer needs the family calendar organized around an athletic schedule. Thank goodness.
I finally have room to be curious again. I remember enough to know why I loved sewing, but I’m rusty enough to want a sensible place to begin!
So this is the plan I wish I had found: choose one job, learn only what that job requires, finish it, and let the next project add one more skill.
Your beginner sewing learning path
| # | Stage | What it unlocks | Start here |
|---|---|---|---|
| 1 | Choose one useful job | A reason to practice | Covered below |
| 2 | Choose the right machine | Comfort and control | Machine guide |
| 3 | Build a small sewing kit | Accurate measuring and cutting | Tools guide |
| 4 | Learn four useful stitches | Seams, edges, hems, repairs | Covered below |
| 5 | Match needle, thread, and fabric | Fewer skipped stitches | Covered below |
| 6 | Press and hem properly | A cleaner finish | Blind-hem guide |
| 7 | Build a project ladder | Progress without overwhelm | Covered below |
MORE FROM CHARMED CURATION
THE STARTING RULES
Why this path is easier to keep
One job first
I would rather finish one needed hem than collect six patterns I am not ready to open.
Control before variety
For now, I care more about a steady seam than a screen full of decorative stitches.
Fabric makes the rules
The needle, thread, stitch, and pressing temperature follow the material in front of you.
Progress stays useful
Each project should teach one new skill while repeating two things your hands already recognize.
THE PRACTICAL PATH
Seven stages from threaded machine to useful work
1. Choose One Useful First Job
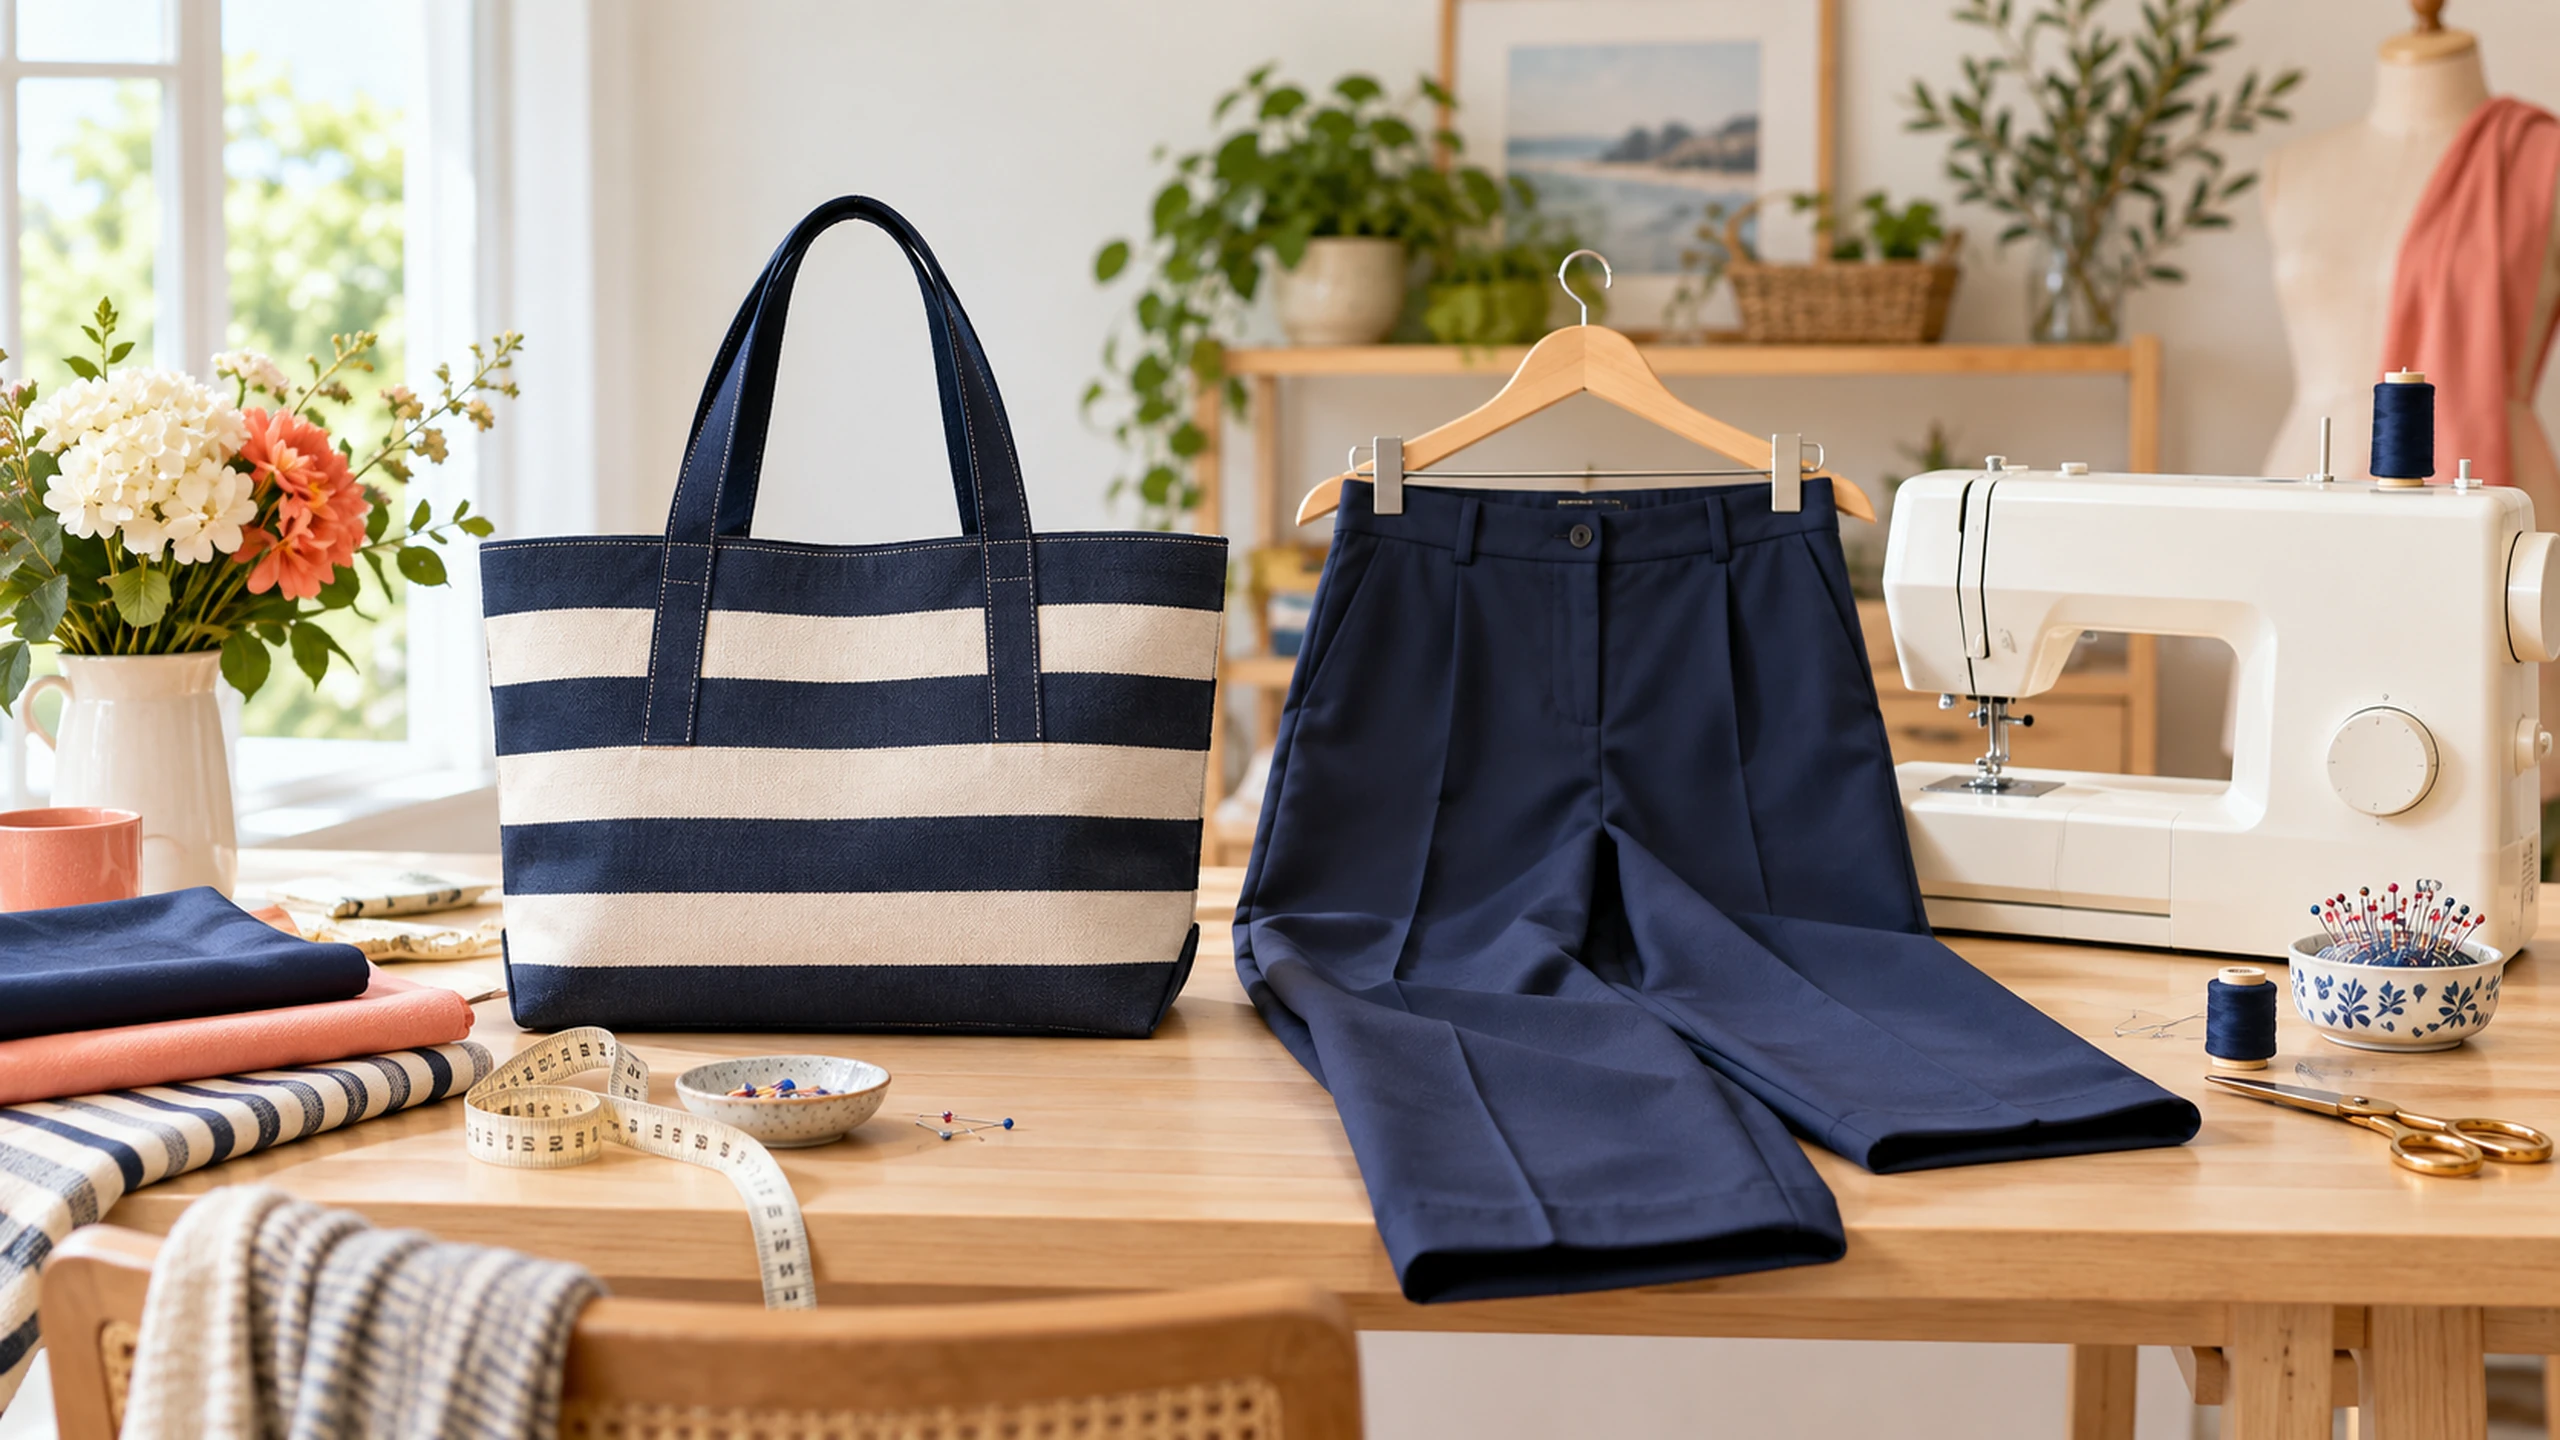
My first project does not need to prove that I am creative or even that skilled just yet. It needs to fix something that bothers me. I already have trousers and pants that pool over a shoe. There is always a pillow cover or kitchen towel asking for help. I believe finishing one of those projects would feel safer than cutting into beautiful fabric for an ambitious blouse and then avoiding it for three months!
I plan to start with stable woven fabric and mostly straight lines. Cotton broadcloth, quilting cotton, chambray, and many medium weight linens are easier to control than slippery satin or a stretchy knit.
A plain tote may not be thrilling, but it will show me how this machine feeds fabric and whether my seam allowance stays where I intended it to stay.
And I have seen some that are so cute!
Charmed Tip: Write the job on a note and set it beside the machine. If a new tool, fabric, or tutorial does not help with that job, it waits.
2. Choose a Machine That Leaves Room to Learn
While comparing machines, I kept coming back to the things I would actually touch: straight and zigzag stitching, reverse, adjustable stitch length, and a free arm for cuffs and trouser legs.
I also want controls that do not require the manual to stay open like a legal document. A needle threader sounds increasingly less like a luxury, and a speed limiter appeals to me because I would rather begin slowly than chase fabric across the table.
I like the plain honesty of a mechanical dial.
Turn it, see the stitch, sew.
A computerized machine can offer push-button selection, needle-position controls, speed limiting, and many more stitches. I don’t think one type is better than the other. But I do know that with my awkward arthritic hand in the making, an automatic threader was necessary.
Also, I know that the better machine for me, is the one I’ll still feel comfortable using after the excitement of opening the box has worn off.
Our beginner sewing-machine comparison lays out those differences and includes straightforward Brother and Singer options currently sold through Amazon.
What goes wrong: I can picture myself buying for the imaginary expert I may become. I’m trying to buy for the hems, repairs, and simple projects I am honestly likely to make during the next year, and many more to come.
3. Build a Small Kit Around the Work
My instinct is to make a fresh hobby feel official by buying everything at once.
Sewing makes that especially easy. Before I do that, I am checking the machine’s accessory compartment; it may already hold bobbins, needles, presser feet, a screwdriver, and a seam ripper. Then I can add what makes the first job easier: sharp fabric shears, a flexible tape, a seam gauge, a removable marking tool, pins, good thread, spare needles, and a pressing cloth.
Utah State University Extension separates basic supplies from tools that become useful with more advanced projects.
I appreciate that distinction. Rotary cutters, large mats, tailor’s hams, sleeve rolls, and specialty feet may earn their place later. I don’t necessarily need to buy them immediately as a down payment on becoming a serious sewing person.
The complete sewing-tools guide explains what each tool earns, what can wait, and why a seam ripper is an editing tool rather than evidence of a bad afternoon.
Charmed Tip: Keep the first kit in one open tray or handled box. A tool you can see is more useful than a perfect organizer stored in another room.
4. Learn Four Stitches Before Chasing Forty
I don’t expect to use forty stitches. I expect to use four, maybe five.
A straight stitch joins most woven seams. Reverse or reinforcement secures the beginning and end when the construction calls for it. Zigzag can finish a raw edge, attach elastic, or allow a little movement. The blind hem is the one I am especially interested in because its tiny catches can nearly disappear from the right side…again those longer pants that need hemming that will require a blind stitch.
Those four stitches would cover repairs, plenty of home projects, simple garments, and the hemming work I expect to do most. I may eventually love decorative stitches. A one-step buttonhole could also become important.
Right now, though, I would trade a menu of 200 stitches for four settings I can select without squinting or reaching for the manual.
Practice on doubled scraps, even paper from the actual project. Sew a straight line, stop with the needle down, pivot at a corner, and test the zigzag near a raw edge.
Brother’s support guidance for straight stitching and reverse stitching is model specific in its controls, which is precisely why your own manual stays the final authority on the engineering of their machine.
What goes wrong: Testing on a random scrap can hide a problem. Use the same fabric, thread, needle, and number of layers as the project, then write the successful settings on the scrap.
5. Let the Fabric Choose the Needle and Thread
I used to think one sewing-machine needle was much like another. It isn’t. Fabric weight, weave, stretch, needle point, needle size, thread, stitch length, and tension all meet under the presser foot.
A poor match can show up as skipped stitches, puckering, frayed thread, a bent needle, or fabric being pushed into the needle plate.
A universal needle has a slightly rounded point and is designed for general sewing on many woven and knit fabrics, according to SCHMETZ.
Denim, stretch fabric, fine microfibers, leather, and dense topstitching can need a more specific needle. Buy needles for the fabric on the table and replace a damaged or dull one. A fresh needle costs less than an hour spent blaming yourself for a machine that suddenly seems temperamental.
I will use good all-purpose thread in a color close to the project and make a test seam before touching the actual hem. Yes, it uses a little fabric and thread. It also keeps me from discovering a tension problem halfway across the front of my pants.
Charmed Tip: Keep the needle package with the project until it is finished. A loose needle does not announce whether it is universal, stretch, denim, or already used.
6. Press the Work and Learn One Good Hem
I’ve been guilty of being lazy and treating the iron as just cleanup for the end.
In sewing, it belongs in the beginning and middle of the work. A pressed fold stays where I measured it, an opened seam loses bulk, and a pressed corner is much easier to stitch neatly.
Sewing.org distinguishes pressing from sliding the iron back and forth: lift it, set it down, and avoid dragging the fabric out of grain.
Hemming is the skill that makes this whole return feel practical to me. I’m short. Trousers and pants have been arriving too long for most of my life, and paying for every simple alteration adds up quickly. Bodies change. Shoes change. Apparently inseams do not get the message.
I want a blind hem for the pieces that deserve a dressier finish with almost no stitching visible outside.
The machine’s blind-hem stitch helps, but the fold does most of the thinking and hard work…Measure consistently, press the first fold, create the offset fold described in the manual, test the needle swing, and use matching thread.
The step-by-step blind-hem guide shows the setup without turning it into a secret handshake.
What goes wrong: If the visible bites are large, move the fold or adjust stitch width before changing five settings at once. One small change keeps the cause understandable.
7. Build a Project Ladder, Not a Project Pile
My danger is not running out of ideas. It is picking seven of them before finishing the first. So the second project should repeat most of the first and add one new wrinkle. A straight-seam tote can lead to an envelope pillow with overlapping layers. A basic trouser hem can lead to a blind hem on slightly heavier fabric. The repetition is useful; my hands get another turn before my brain invents a new emergency.
A useful first ladder might be: a practice sampler, a basic repair, a tote, an envelope pillow, a table runner, a machine blind hem, and one simple garment in stable woven fabric. If quilting, clothing, or home sewing becomes the clear favorite, let that interest choose the next tool and lesson.
I also don’t need a fancy sewing room. All I need is a steady table, a supportive chair, good task light, nearby power, and one box that closes will do. What matters is leaving the setup easy enough that I can sew for twenty minutes without spending the first forty moving the rest of the house.
Charmed Tip: End each session by threading the machine for the next step and leaving a note about what comes next. Returning becomes an invitation instead of a reconstruction.
WHERE TO LEARN
Find a teacher before you need rescuing
I can learn a great deal from a video, but sometimes I need a real person to say, ‘Your presser foot is still up.’ A teacher beside the machine can hear a threading problem and save me an hour of blaming the bobbin, the thread, and possibly the weather.
One introductory class may be enough to settle the nerves. A short series adds an appointment to the calendar and someone who will notice whether I practiced.
How to find adult sewing classes near you
Begin with the American Sewing Guild chapter locator. Chapters and neighborhood groups operate around the country, and their local calendars may include meetings, workshops, garment sewing, quilting, fitting, or open-sew time.
A group is especially valuable after the first class because you gain people who can answer the odd little questions that appear only when your fabric is already under the presser foot.
Then search beginner sewing classes near me and check five local places: Community College Continuing Education, Public-Library events, city or county recreation programs, independent fabric or quilt shops, and sometimes sewing-machine dealers.
Makerspaces and creative studios may also offer low-cost introductions or supervised open-lab hours. Class schedules change, so call before making a special trip.
Before you book: Ask whether the class is for true beginners, whether you may bring your own machine, how many students share the instructor, which supplies are included, and whether the room has comfortable seating and good task lighting.
A YouTube path that does not become a rabbit hole
I’ve watched enough tutorials to know that watching can feel suspiciously like doing. It is not. I’m keeping the machine beside the screen, using scraps, and choosing videos that answer the question actually in front of me. This is the order I would use to brush up on my skills or even begin fresh:
- Start with your exact machine. Use the printed manual and search the manufacturer name, full model number, and the words threading or bobbin. Similar-looking machines can load differently.
- Learn the shared fundamentals. Made to Sew’s Beginners Sewing Course, Day 1 covers threading, winding a bobbin, needles, thread, and the first setup in a deliberate lesson.
- Use an ordered reference library. Professor Pincushion’s Sewing Classroom arranges free lessons from basic tools and measuring through more advanced skills, which makes it easier to begin at the beginning.
- Watch one technique when the project asks for it. Look up a straight seam, corner, zigzag edge, buttonhole, or blind hem only when that step is in front of you. For a simple manufacturer introduction, SINGER also offers a verified Beginner Sewing Tips video.
I’d watch the lesson once, then replay it in short sections and pause after each action to reinforce it.
The manual stays open beside me because its threading route, bobbin direction, presser feet, and settings outrank a general video. When a creator links fifteen tools below the video, I remind myself that a recommendation is not an assignment.
Charmed Tip: Make a tiny lesson card for the machine: thread, wind bobbin, insert bobbin, raise presser foot, select straight stitch, test on doubled scrap. Repeating the same card twice teaches more than saving twenty videos.
The first thing to make
I’m starting with the useful job already waiting in my house. If yours is a hem, open the blind-hem guide. If the machine or its accessories are still undecided, use the beginner machine comparison and the practical tool list. I don’t want to become a person who merely owns sewing things. I want to finish one useful thing and feel that old door open again.
If a useful holiday finish line sounds motivating, these Christmas gifts to sew turn beginner skills into thoughtful presents people can actually use.
Technique notes: For basic supply guidance, see Utah State University Extension. For needle types and applications, see the SCHMETZ needle primer. For machine operation, use the manual and support information for your exact model; Brother provides examples for straight stitching and reverse stitching. For pressing technique, see the Sewing & Craft Alliance.
Leave a Reply