
CRAFTS / BEGINNER SEWING / BY STACEY SAVARESE
This post may contain affiliate links, including Amazon links. If you buy through my links, I may earn a commission at no extra cost to you. As an Amazon Associate I earn from qualifying purchases.
EASY SEWING PROJECTS
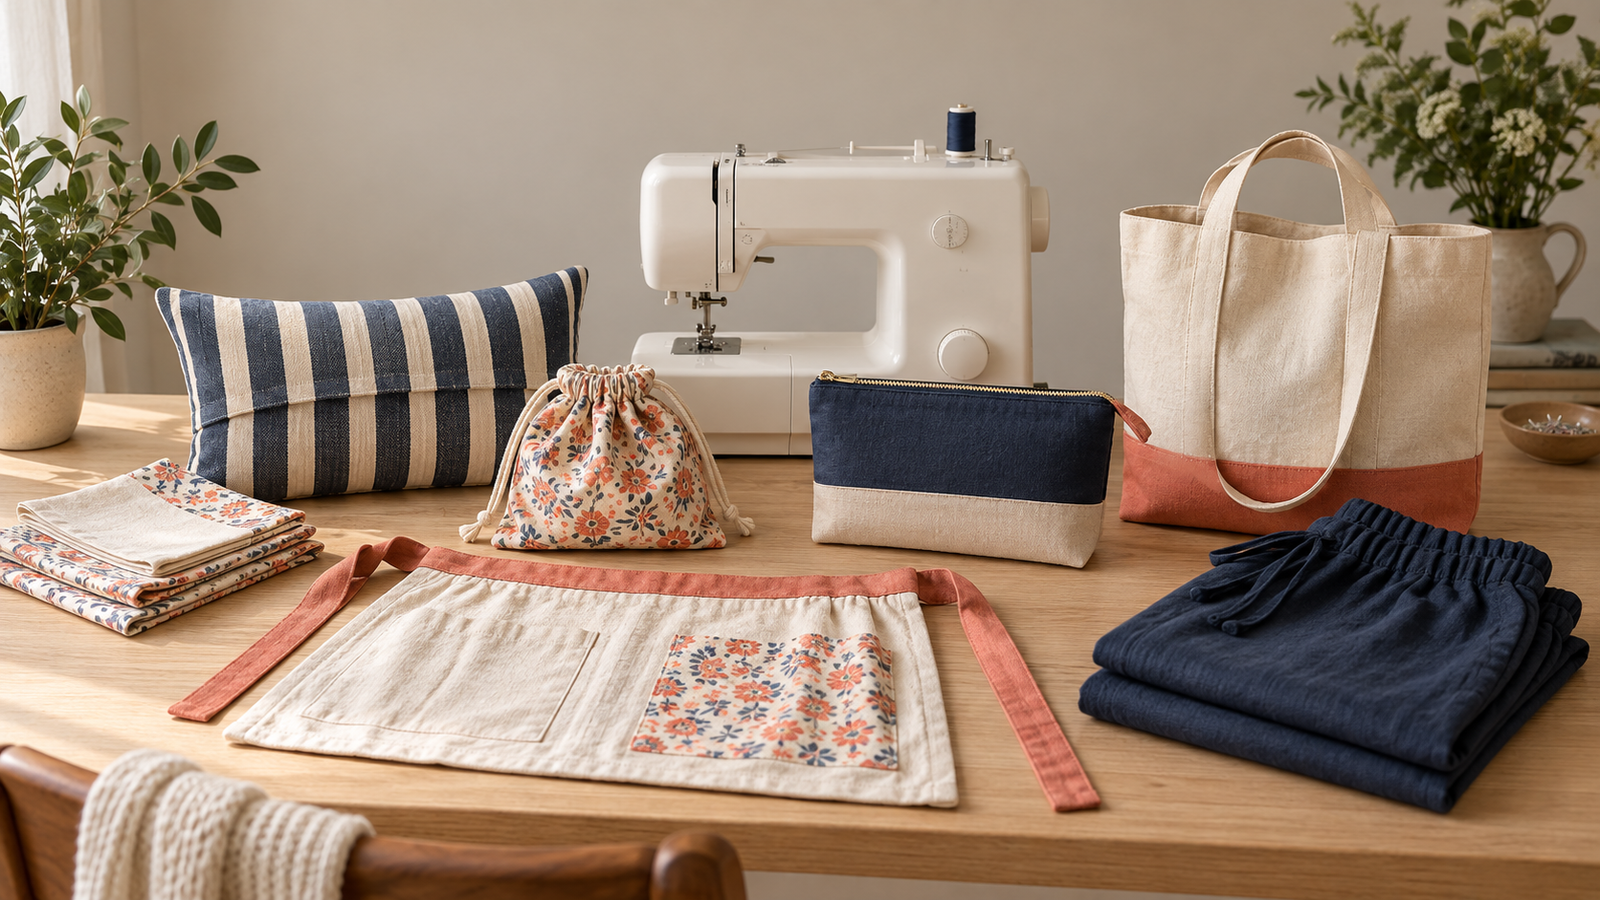
Seven projects worth finishing
Most beginner lists give you fifty possibilities. This one gives you seven useful projects in an order that turns repetition into real skill.
Affiliate links may be included · Updated September 24, 2026
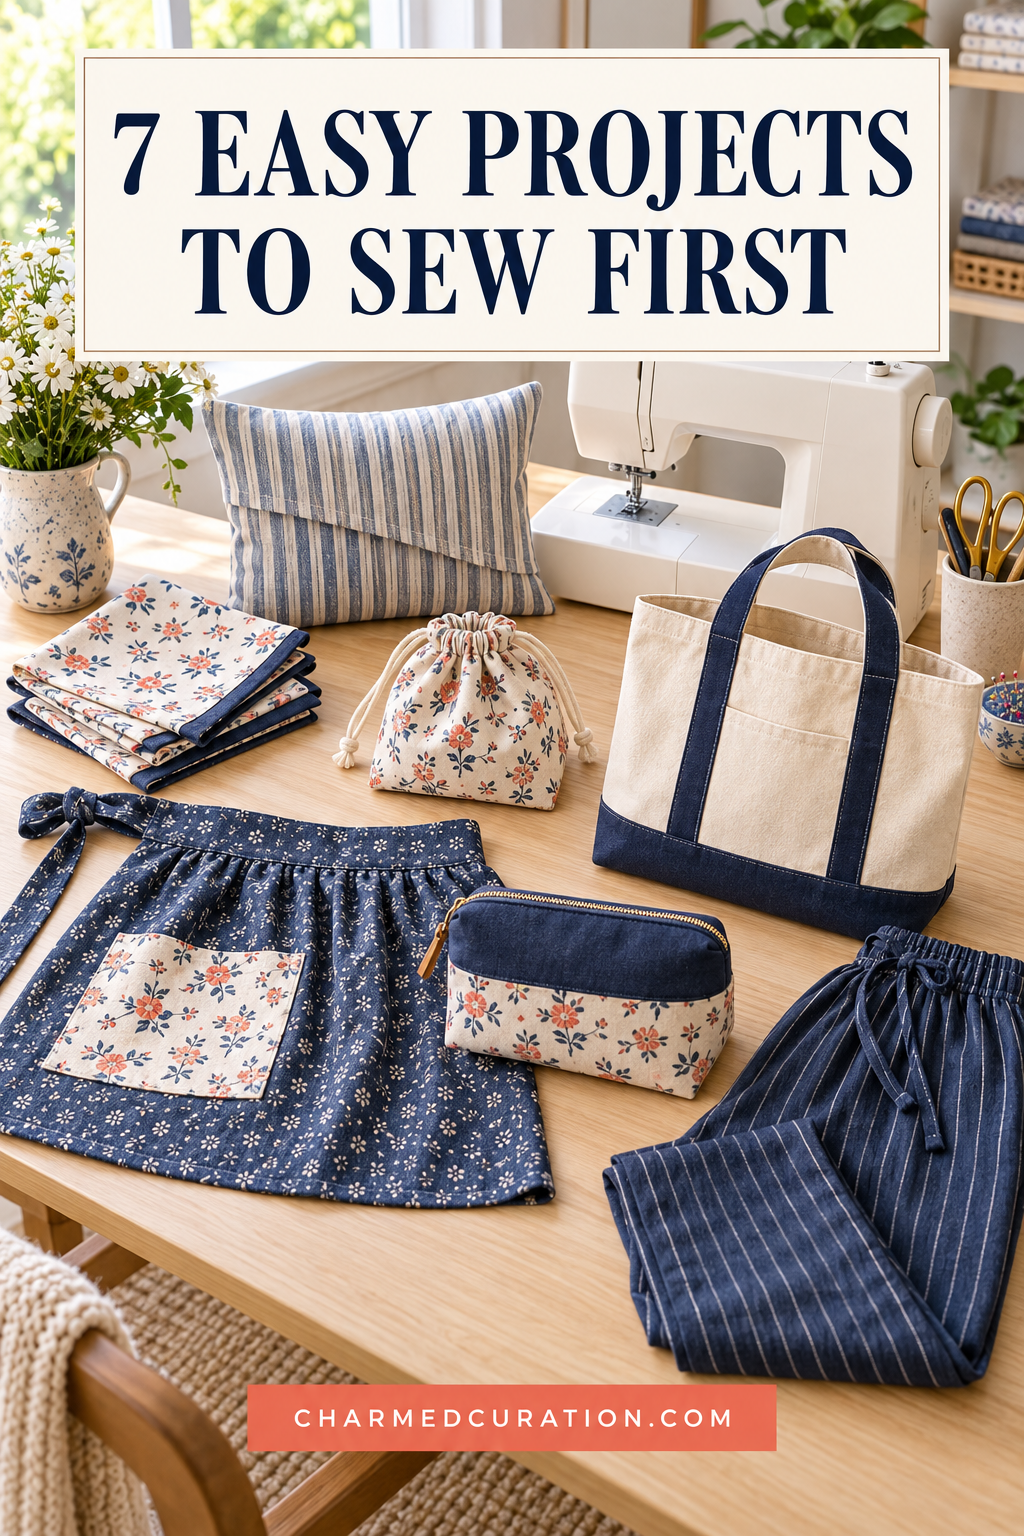
The best easy sewing projects for beginners are simple enough to finish and useful enough to make you want another one. That second part matters. I have no interest in rebuilding my sewing confidence by filling a drawer with practice pieces I do not need.
I want to see progress in the house. A set of napkins on the table. A pillow with a cover I chose. Pajama pants that do not assume every woman is the same height. As a short woman, I have spent enough of my life negotiating with hems to appreciate a skill that can quietly improve Tuesday.
The order below is intentional. Illinois Extension places straight stitching and simple machine hems among its beginner goals, while zippers and more involved construction appear later. That feels right to me. Each project here introduces one new idea while repeating something your hands met in the project before it.
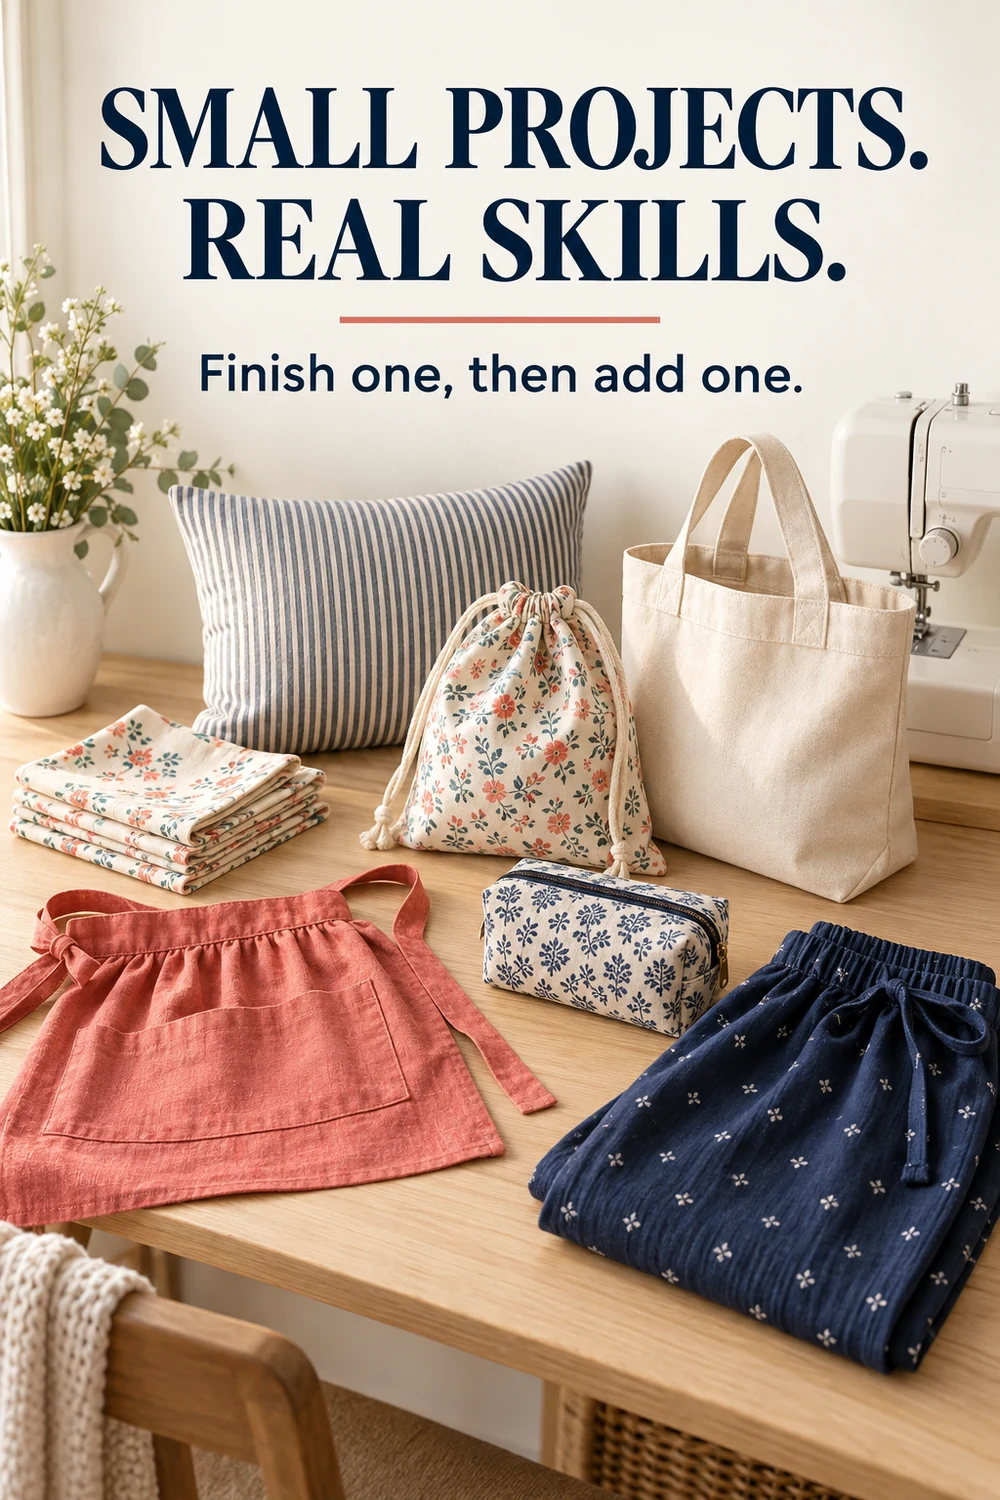
The goal is not to make seven perfect things. It is to finish seven increasingly capable ones and notice that your hands no longer hesitate where they did before.
Easy sewing projects for beginners, in order
A SMALL PROJECT KIT
Fabric and supplies you can use more than once
The Amazon links below are affiliate links. If you buy through them, I may earn a commission at no extra cost to you. As an Amazon Associate I earn from qualifying purchases.
Begin with fabric that stays where you put it. A coordinated 100% cotton fat-quarter bundle is useful for napkins, drawstring bags, apron details, and zipper pouches. For the pillow cover, tote, and apron body, choose woven cotton fabric by the yard so you have enough continuous fabric for the pattern pieces.
A fat quarter is not enough for the pillow cover or pajama pants. For pajamas, follow the pattern yardage and choose cotton poplin, cotton lawn, flannel, or another stable apparel fabric recommended by the pattern.
Shop the project kit
| Product | Where you will use it | Shop |
|---|---|---|
| 100% cotton fat-quarter bundle | Napkins, drawstring bag, apron details, and zipper pouch | Shop Amazon |
| Woven cotton by the yard | Pillow cover, tote bag, and apron body | Shop Amazon |
| Gütermann Sew-All thread | Reliable all-purpose thread for all seven projects | Shop Amazon |
| SCHMETZ Universal 80/12 needles | Stable woven cotton and ordinary project fabric | Shop Amazon |
| Nine-inch zipper multipack | The lined zipper pouch | Shop Amazon |
| One-inch non-roll elastic | The pajama-pants waistband | Shop Amazon |
MORE FROM CHARMED CURATION
THE PROJECT LADDER
Why these seven build real skill
One new skill
Each project introduces one main idea, then lets familiar straight seams carry the rest.
Stable fabric first
Woven cotton behaves well under the presser foot, which leaves you free to watch the seam instead of wrestling the fabric.
Pressing counts
The iron sets seams, shapes hems, and makes modest stitching look far more deliberate.
Useful beats impressive
A finished piece that enters daily life gives you a reason to sit down at the machine again.
THE FULL PROJECT LIST
Seven finishes, one skill at a time
1. Cloth Napkins: Learn the Double-Fold Hem
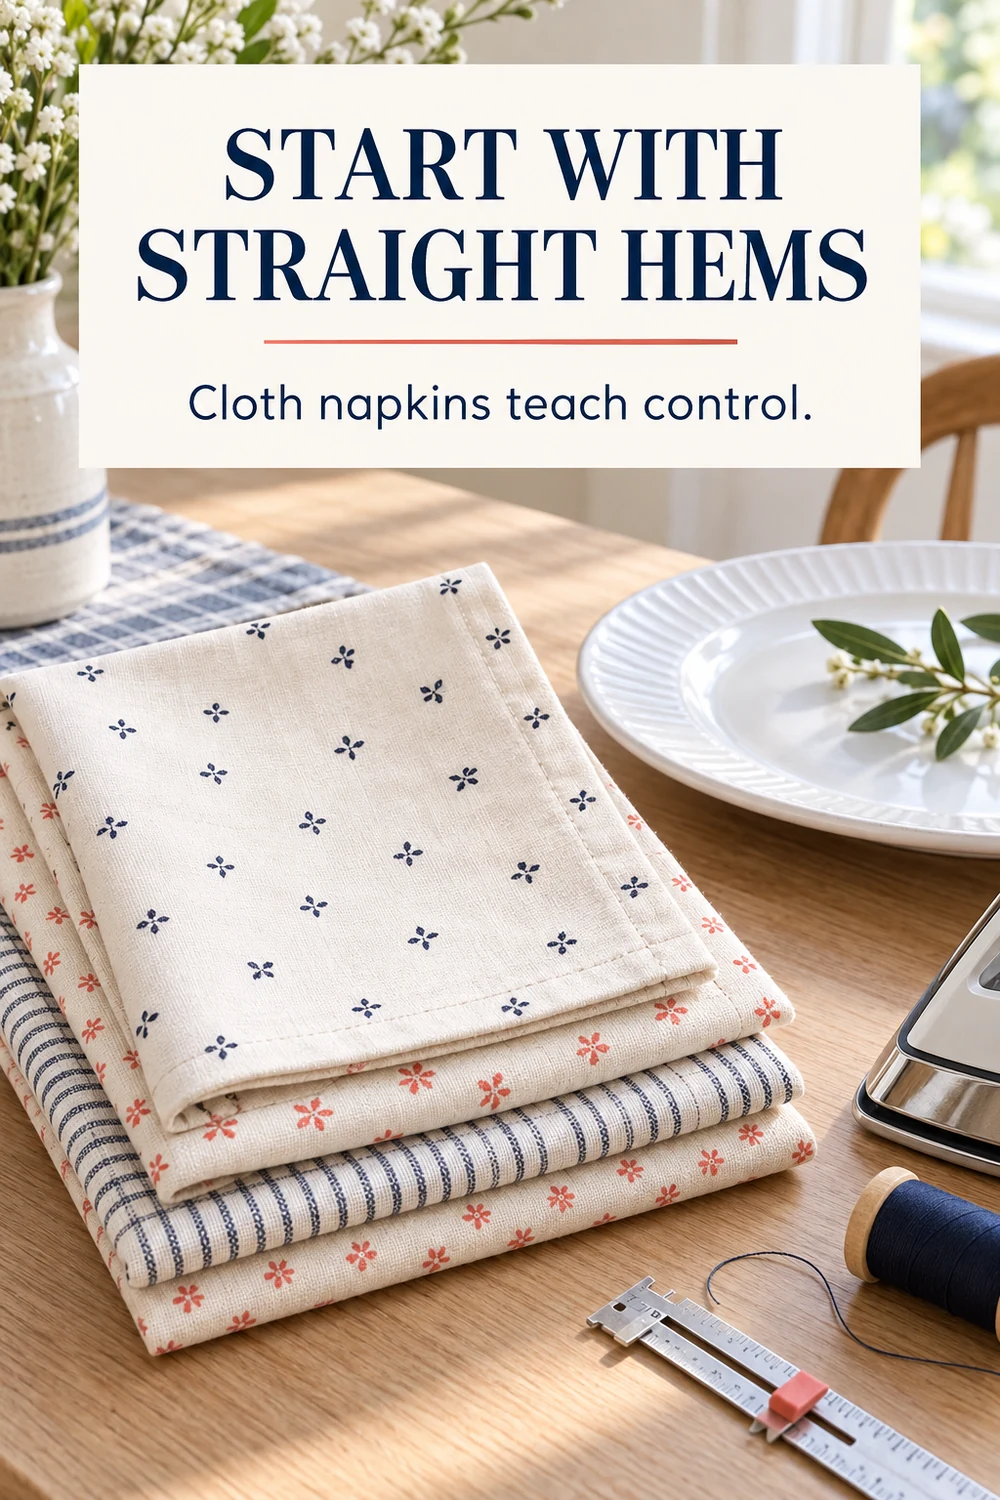
Cloth napkins are four straight edges and one quiet lesson in accuracy. Cut squares from quilting cotton, press each raw edge under, fold it under again, and stitch close to the inner fold. By the fourth napkin, feeding fabric in a straight line already feels less ceremonial.
They also teach something nobody advertises when selling a sewing machine: much of a clean finish happens at the ironing board. Pressing keeps the folded width consistent and stops the fabric from arguing with you at each corner. The tradeoff is repetition, but repetition is precisely why this is a good first project. Choose a print you would be happy to put beside an ordinary Tuesday dinner, not fabric so precious that every wobble feels personal.
Free pattern and instructions: Suzy Quilts’ cloth napkin tutorial shows the double-fold hem, trimmed corners, pressing, and edge stitching with step-by-step photographs.
Charmed Tip: Cut and finish one napkin before cutting the whole set. If the finished size or hem width is wrong, you have corrected one square instead of six.
2. Envelope Pillow Cover: Practice Seams and Corners
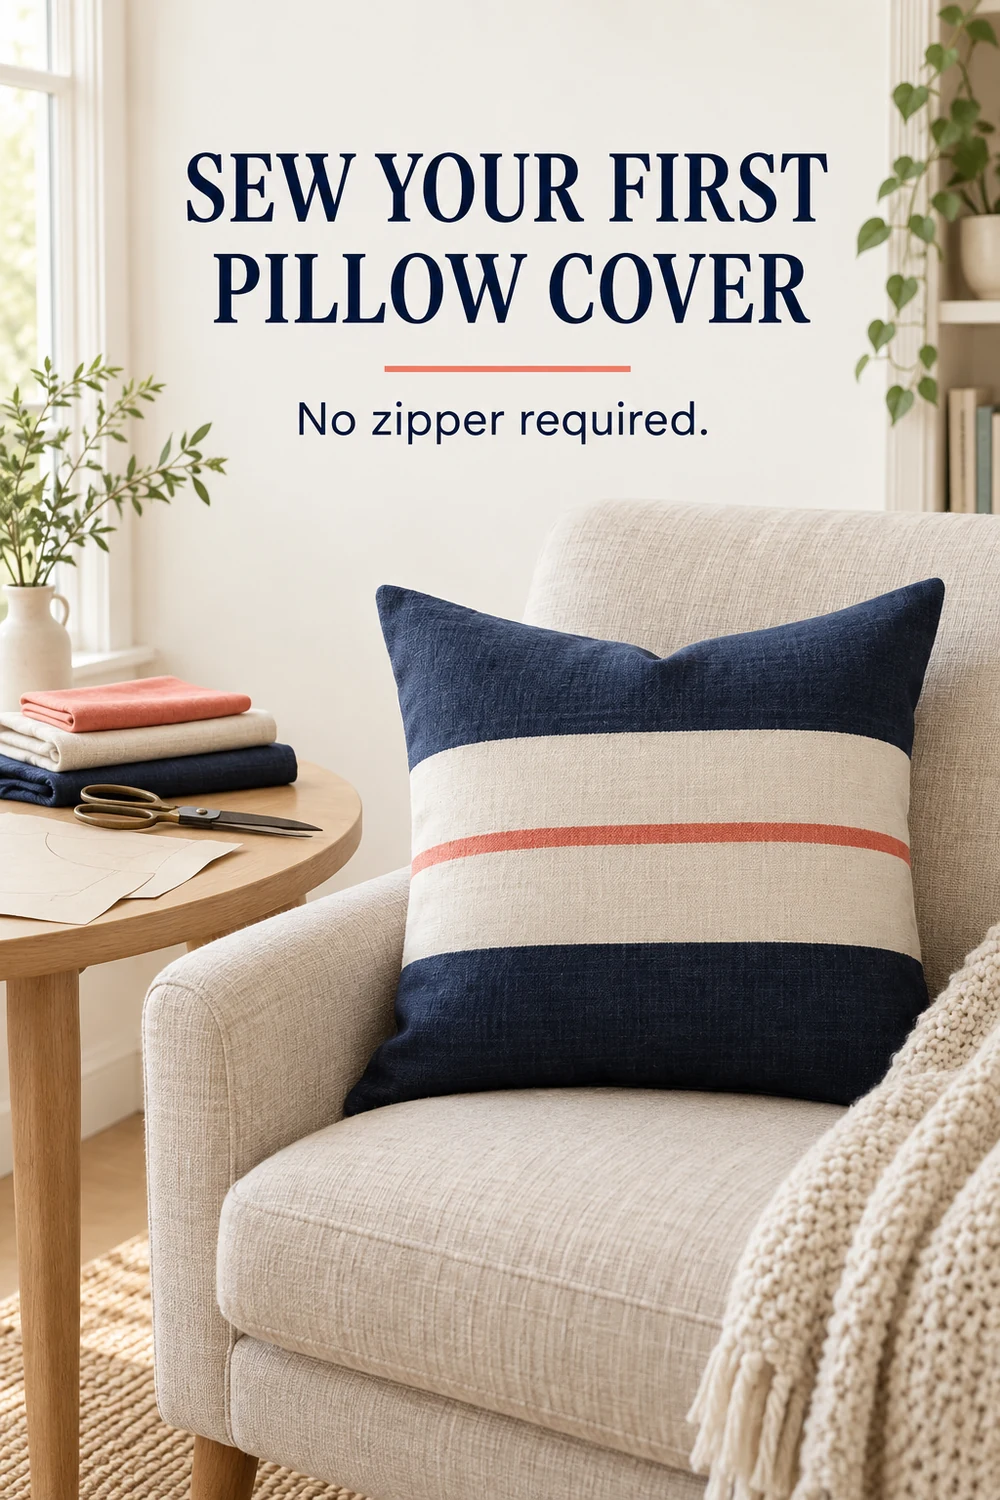
An envelope pillow cover introduces right sides together, seam allowance, clipped corners, and turning a project right side out. There is no zipper. The back panels overlap, so the pillow form slips inside and the opening closes itself. Illinois Extension uses an envelope-back pillow as a beginner sewing activity, which is a reassuring vote for the project rather than a declaration that your living room has suddenly become a classroom.
Home-decor cotton or a medium-weight woven gives the cover enough body to look intentional. This project does require more measuring than the napkins, and the overlapping back panels have to be deep enough to stay closed. In return, one afternoon gives you a finished piece large enough to change a chair or bed.
Free pattern and instructions: Melly Sews’ envelope pillow tutorial provides written measurements, photographs, and a video for the one-piece, two-seam method.
What goes wrong: A shallow overlap can gape after the pillow form goes in. Pin the back panels around the form before sewing and confirm that the opening still overlaps comfortably.
3. Drawstring Bag: Make Your First Casing
A drawstring bag is where a flat piece of fabric begins behaving like an object. You sew the side and bottom seams, finish the raw edges, fold a channel at the top, and thread cord or cotton twill tape through the opening. That channel is a casing, and you will meet it again when elastic enters the story.
Make the bag for something specific: travel cords, lingerie, gift wrapping, clothespins, or the collection of charging bricks that appears to reproduce in one kitchen drawer. Purpose determines size. The only fussy moment is keeping the casing opening clear and wide enough for the chosen drawstring.
Free pattern and instructions: Melly Sews’ drawstring bag lesson includes cutting measurements, written steps, a printable version, and a video.
Charmed Tip: Test the cord inside a folded paper channel before sewing the fabric casing. A narrow tunnel and thick cord can turn the final five minutes into a small domestic standoff.
4. Simple Tote Bag: Reinforce What Carries the Weight
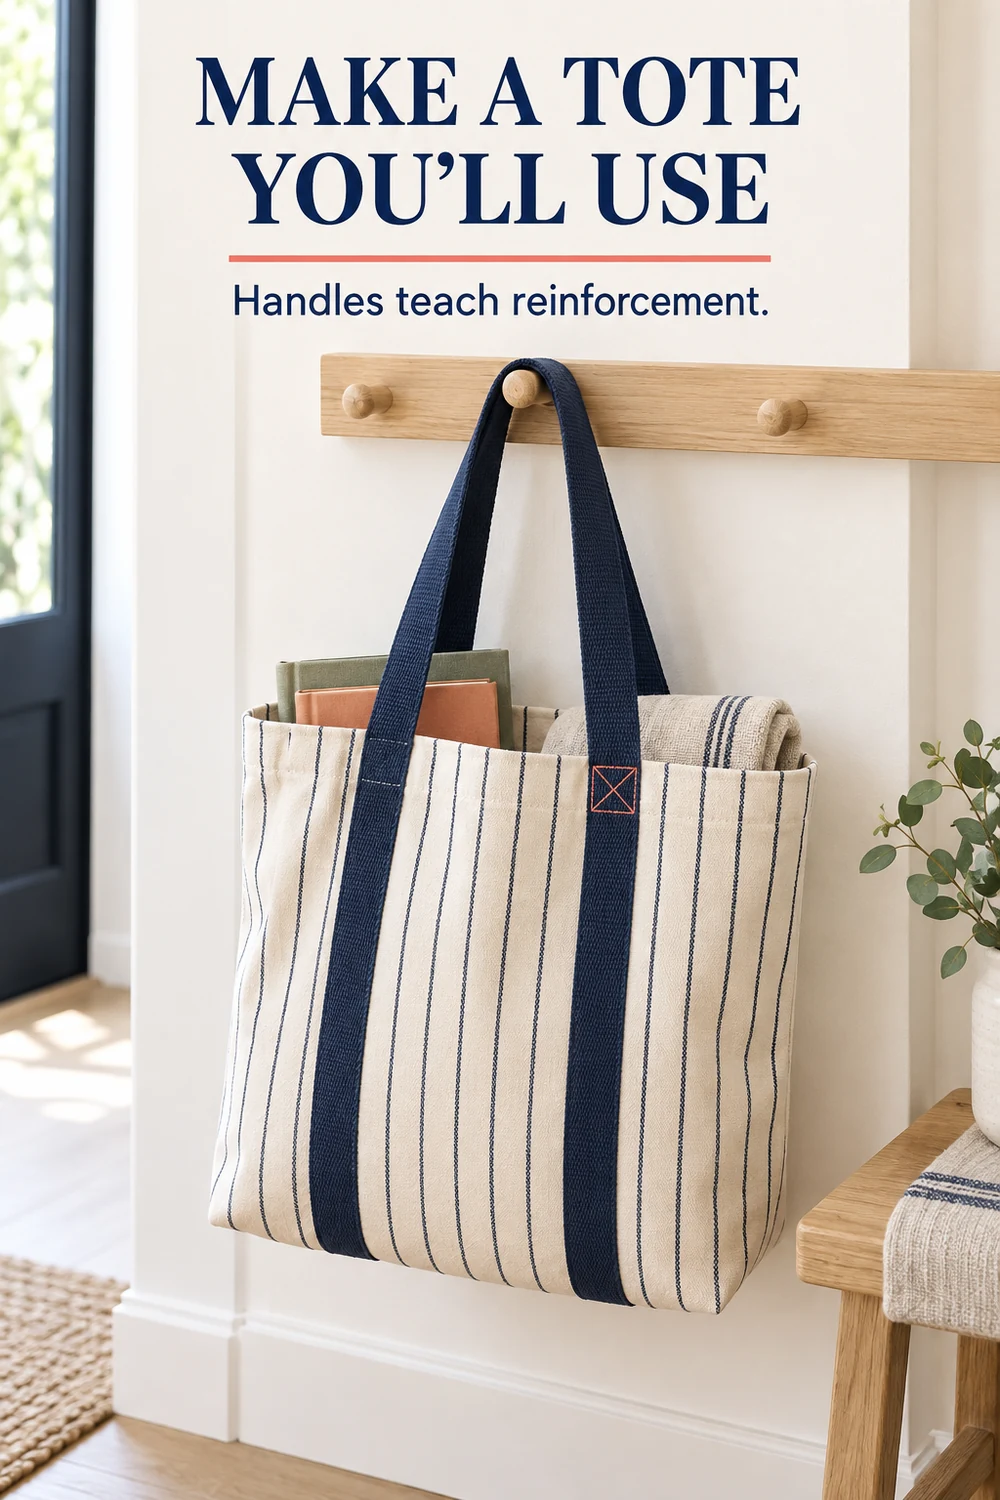
The tote repeats the bag shape but adds handles and responsibility. Medium-weight canvas or cotton twill keeps the body stable. The important lesson is not merely attaching straps. It is securing them where the load will pull, keeping both handles the same length, and making sure neither one has twisted before the final seam.
A flat, unlined tote is enough for the first version. Lining, pockets, boxed corners, and magnetic snaps can join later. That restraint is the tradeoff: the simplest tote may not have every feature, but it gets you to the grocery store, library, or sewing class with something you made over your shoulder.
Free pattern and instructions: Prairie View A&M Extension’s simple tote lesson is a four-page beginner PDF with measurements, handle placement, diagrams, and a one-hour project plan.
What goes wrong: Handles that look centered while flat can feel awkward once the bag is loaded. Baste them first, place a few books inside, and carry the tote across the room before reinforcing the attachment.
5. Half Apron: Add Gathering and a Waistband
A half apron introduces gathering without asking you to fit a whole garment. Two rows of long basting stitches draw a wide rectangle into soft fullness. A waistband covers the gathered edge, and long ties make the sizing forgiving. Add one large patch pocket if you want to practice placing and topstitching a piece onto another piece.
This is the first project on the list where even gathering matters more than geometric perfection. Pulling too hard can break the basting thread; crowding all the fullness into two spots makes the apron look accidental. Work slowly from both ends and let the gathers spread under your fingers. It is a pleasant little lesson in persuasion.
Free pattern and instructions: Sweet Red Poppy’s gathered half-apron pattern includes adult and child sizes plus illustrated steps for the pocket, gathering, waistband, and ties.
Charmed Tip: Mark the center of both the apron panel and waistband. Match those marks first, then distribute the gathers evenly toward each end.
6. Lined Zipper Pouch: Learn the Order of Operations
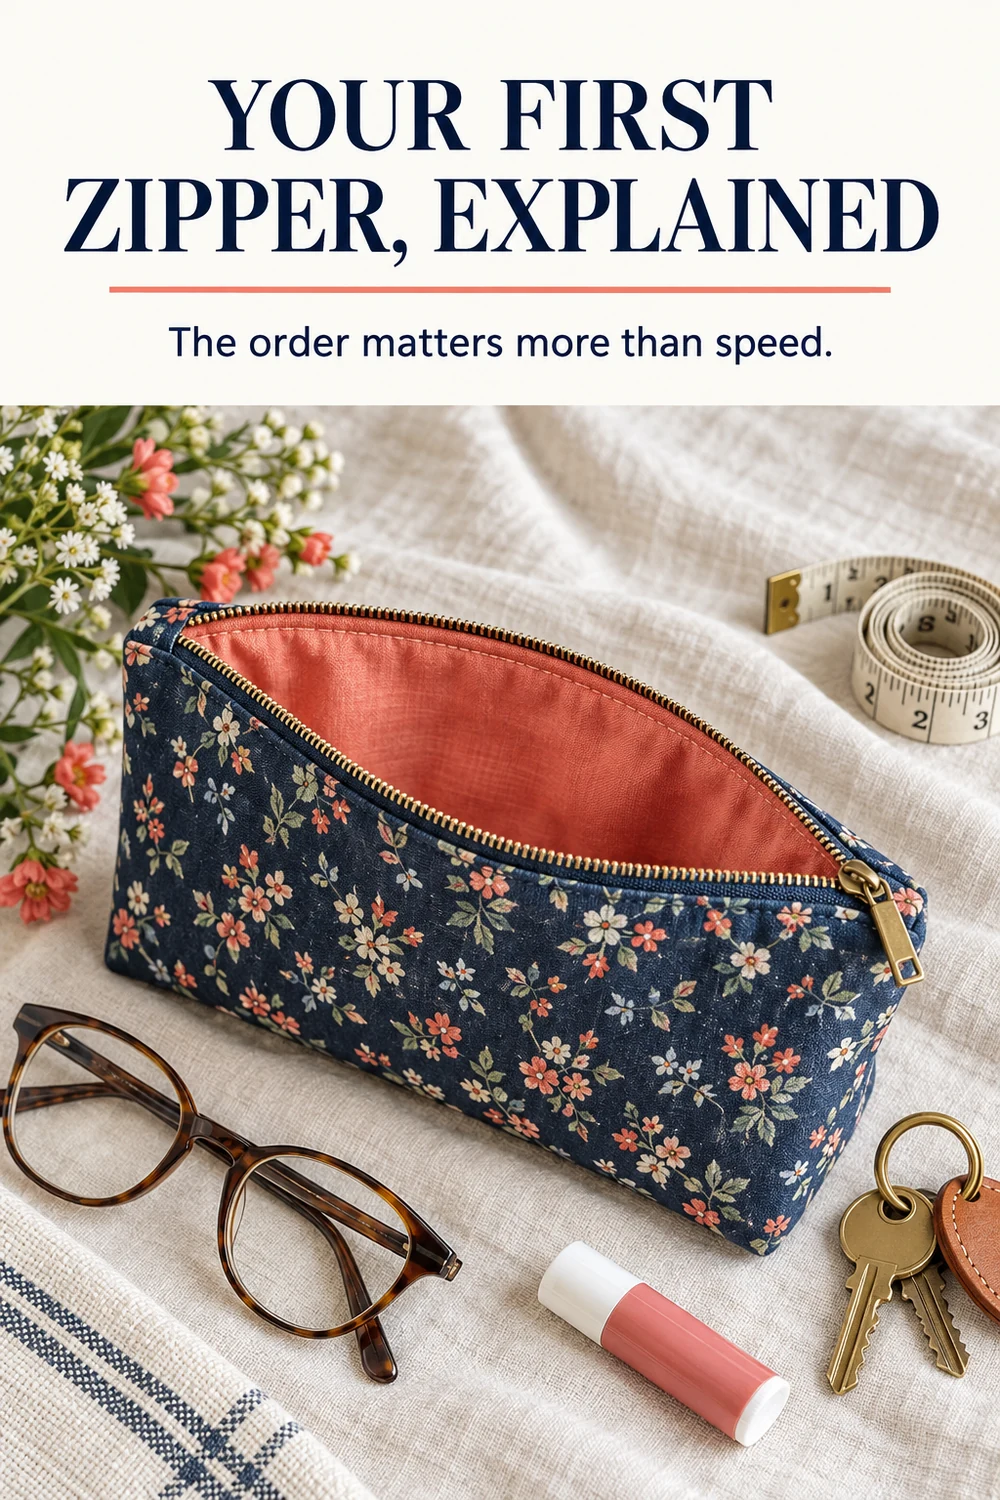
A zipper pouch looks more advanced than it is, which makes finishing one especially satisfying. The zipper sits between the outer fabric and lining, a zipper foot lets the machine stitch close to the teeth, and the pieces unfold into a clean little sandwich. Then the outer layers and lining layers are sewn separately, leaving an opening for turning.
The new skill is less about bravery and more about sequence. Put one layer on the wrong side of the zipper and the pouch becomes a fabric riddle. Use inexpensive cotton for the first attempt, label the right and wrong sides if the print is subtle, and stop after each seam to unfold the layers and check what you have made.
Free pattern and instructions: Sewing Report’s lined zipper pouch tutorial includes a free printable pattern and a video covering the zipper, lining, topstitching, and turning sequence.
What goes wrong: Before sewing around the pouch, open the zipper halfway. Otherwise the most beautiful seams in the world may leave you with no sensible way to turn it right side out.
7. Elastic-Waist Pajama Pants: Sew Your First Garment
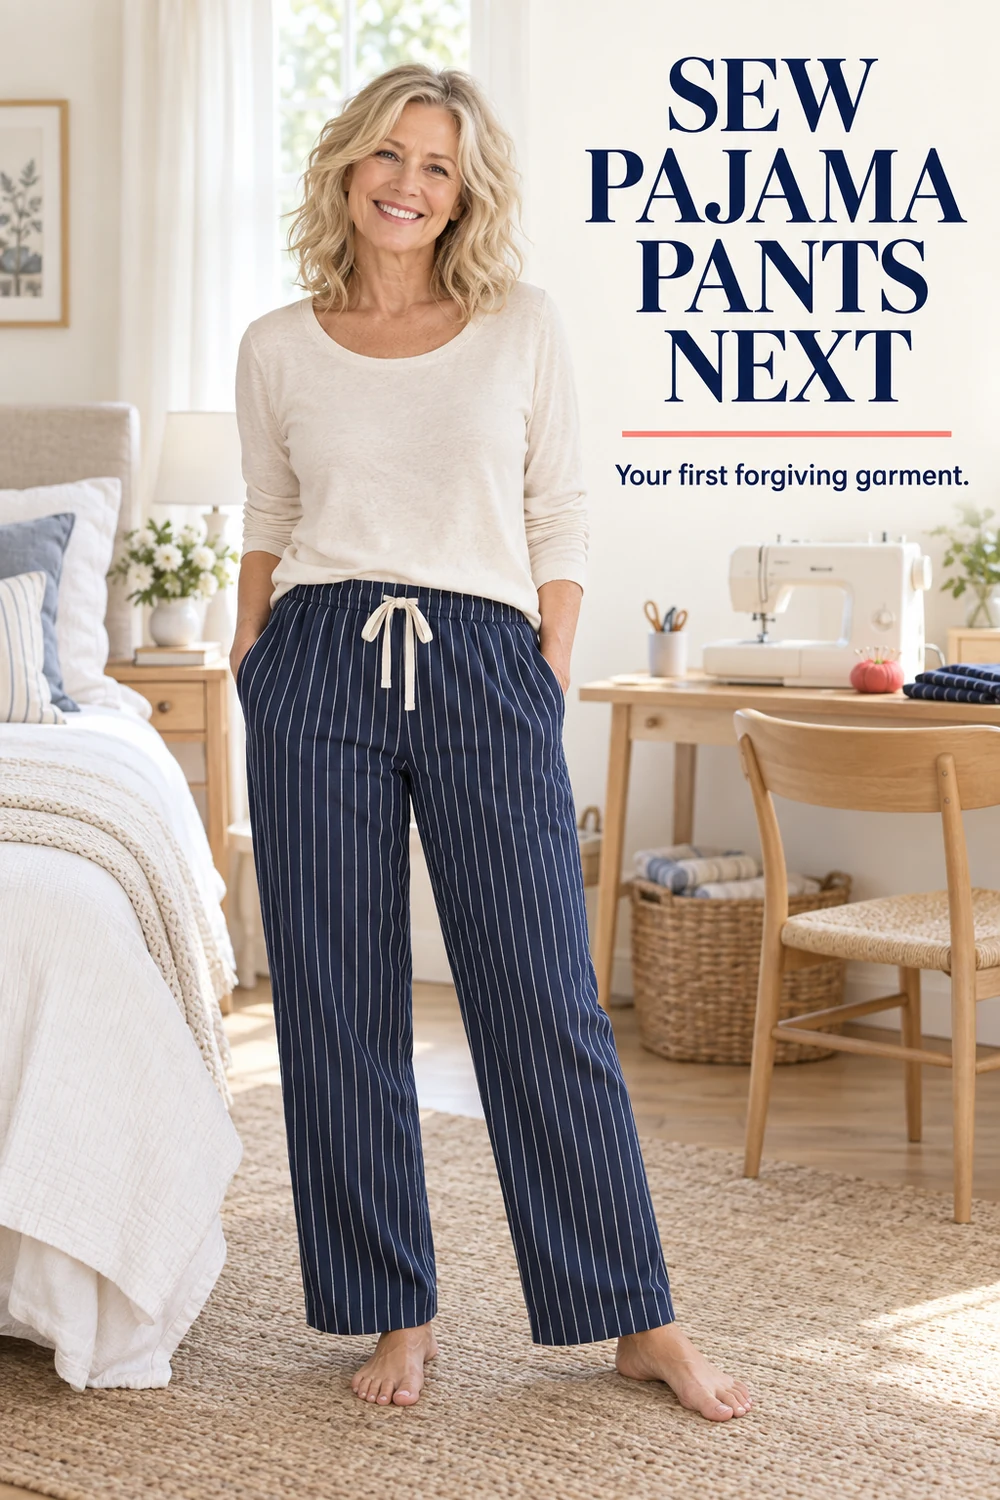
Pajama pants are a kind first garment. The fit is relaxed, the waistband is elastic, and a medium-weight woven cotton is easier to control than stretch fabric. You will read a simple pattern, identify the grainline, cut mirrored pieces, sew curved crotch seams, join the legs, make a casing, and hem the bottoms. Suddenly the skills from the previous six projects have somewhere to meet.
Pattern sizing deserves respect because it may not match the number printed inside ready-to-wear clothing. Measure the body and compare it with the pattern chart. Check the finished garment measurements when they are provided. The tradeoff is that garment sewing asks for more preparation before the satisfying part begins, but the result belongs to your actual body. Mine, for example, would benefit from a hem that acknowledges where my ankles live.
If you would rather practice hemming on something you already own first, use the step-by-step blind-hem guide. A nearly invisible trouser hem is not required for pajamas, but it is a fine example of sewing solving a recurring, expensive little problem.
Free pattern and instructions: Patterns for Pirates’ Walk the Plank pajama bottoms offers free adult and youth patterns for woven fabric, multiple lengths, an elastic waist, and a quick no-side-seam construction.
Charmed Tip: Before cutting fabric, compare the pattern’s inseam with a pair of pajama pants you already like. Length is much easier to correct on paper than after the casing and hems are finished.
Where I would begin
I would begin with the cloth napkins because the fabric behaves, the finish line is visible, and four repetitions give the hands time to remember. Then I would choose the project I most want to live with, even if it bends the order a little. A useful finish creates its own momentum.
Before buying supplies, check the beginner sewing-tools guide. If the machine itself is still the question, the beginner machine comparison separates simple mechanical controls from computerized features without assuming more stitches always mean a better start.
When those first projects begin to feel comfortable, carry the same skills into these Christmas gifts to sew. The list includes useful options for kitchens, travel, winter comfort, and family traditions.
The finish line is the lesson
A slightly crooked napkin you use is worth more than a flawless project that never leaves the planning stage. Finish it. Press it. Put it into service. Then decide which one new skill sounds interesting enough to try next.
Leave a Reply